
 |
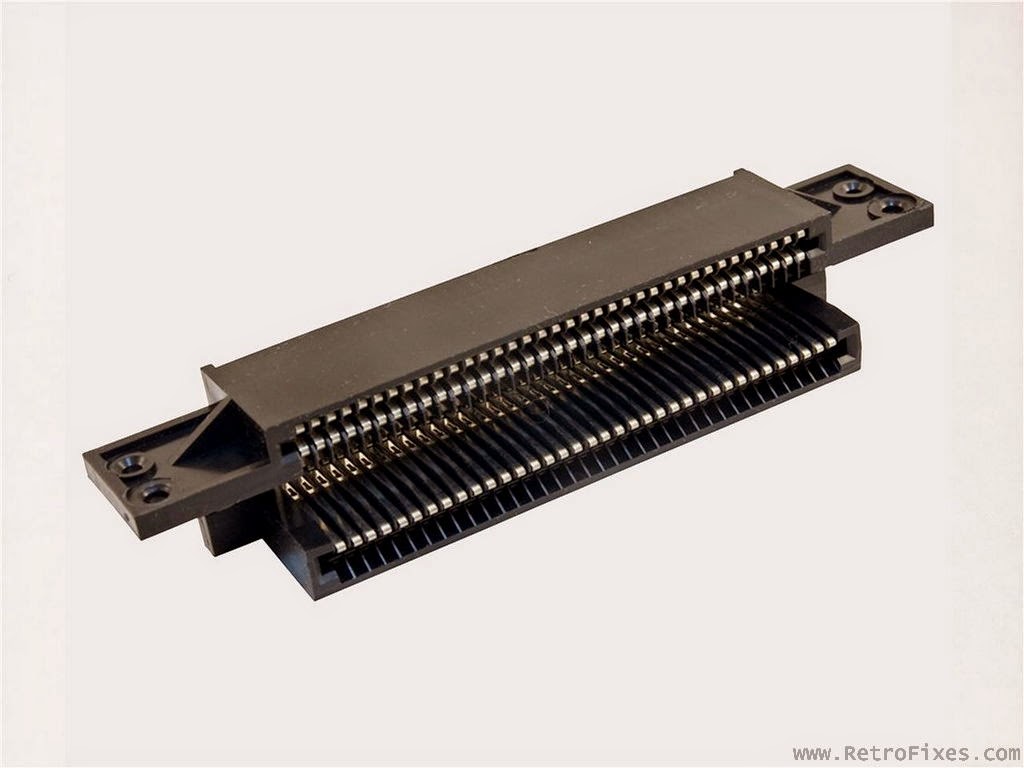
| 72 Pin Connector |
- Corroded or worn-out 72Pin Connector.
- Game Cartridges need Cleaning
- Faulty Lock-out Chip
Its worth mentioning that a newly cleaned console shouldn't have uncleaned games inserted into it or vice versa. It is highly recommended to clean both.
Let's get started.
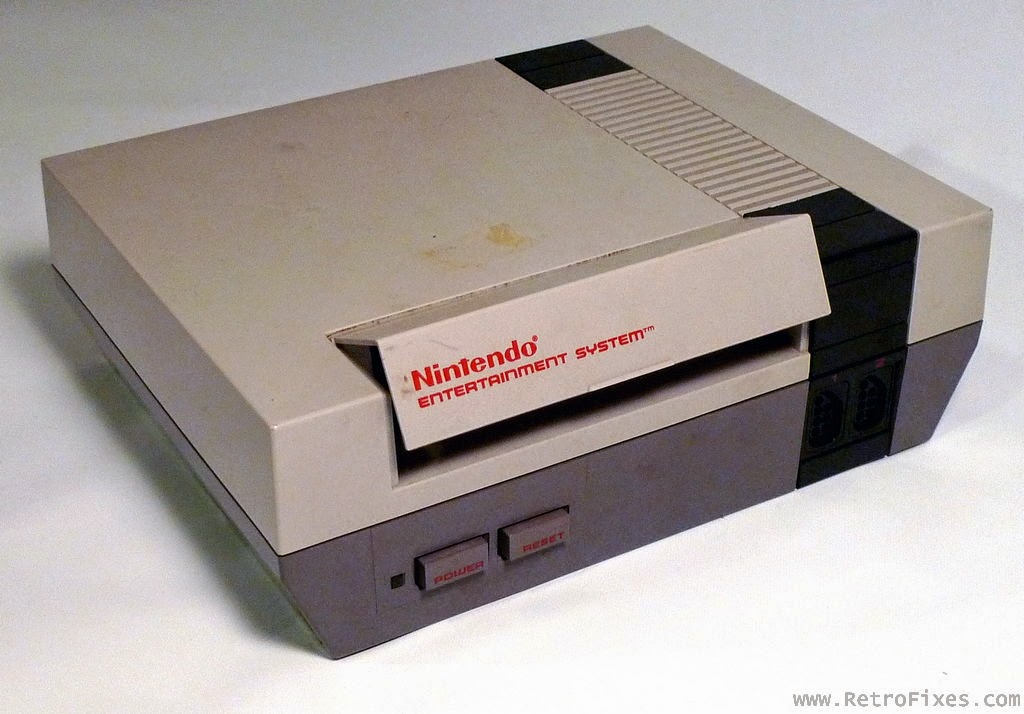
Look for the 6 screws on the underside of the NES. I have highlighted all screws locations in Red.

Slowly remove the top NES cover. Next step is to remove the metal shielding plate.
A total of 7 screw hold the shield in place. Two on the left side of the cartridge slot, two behind it, and three on the right side. Also remove the one screw near the RF box.


Next Step is to remove the black cartridge platform. There are six screws holding the tray down. You will have two screws that are a different length. All other screws for the NES are incidental. The longer silver screws go in the second hole on the rear end of the carriage.The red arrows point to the silver long screw location.

 |
| Be careful with these screws! |
Now the circuit board should lift up & out of the lower base.
Flip the motherboard and gently remove the wired connectors and metal shield.

Sliding off the 72Pin connector can be difficult. Work slowly and try not to break anything.
 |
The main issue with the 72pin is each pin slowly get's bent out of factory spec. This makes for a loose connection when inserting game. Loose Pins equals = Poor game contact and glitch or non booting games.
You can make a simple pin bending tool with a large safety pin as shown below.
You can make a simple pin bending tool with a large safety pin as shown below.

Here we can see the row of game reading pins. We need to GENTLY bend
each pin upwards 1-2mms. Carefully wiggle the tool under each pin and
pry upwards. Work slowly and do his for every pin on the row.


Alternative fix: buy a new aftermarket 72 connector from eBay. Though the quality of these adapters are normally pretty low. It always worth fixing the original.
Once the pins are bent back into place, you may attempt cleaning 72pin connector.
Submerge the 72pin in rubbing alcohol or simply add a few drop inside the connector. Find a clean NES game and insert the game several times.
To reassemble your device, follow these instructions in reverse order.Once the pins are bent back into place, you may attempt cleaning 72pin connector.
Submerge the 72pin in rubbing alcohol or simply add a few drop inside the connector. Find a clean NES game and insert the game several times.
Remember to pay close attention to the silver screws used on the black carriage bay!
There are several new cleaning methods available. No bending required.
- Try the boiling method. Found here


Very very helpful article! The effort you put into the details in each picture was very useful. I've been needing to clean my 72-pin for a while.
ReplyDeleteThanks for the feedback. I plan to add more detailed info on 72 pin cleaning. I learned a few new tricks
ReplyDeleteI'm having trouble with my top-loader NES—I have to hold the cartridges in a forward position to get them to load. I remedy this by inserting a folded index card behind the cartridge after I achieve a clear connection. This works well enough, but I'd like to be able to just put in a game and play without all the persnickety fiddling each time I switch games. Does this sound like a cleaning issue or does my beloved NES need repair (in your opinion)? Love the site, by the way—you do excellent work!
ReplyDeleteToploaders are normally very reliable with pins connections. I have a
Deletevery reliable cleaning method for cartridge based consoles.
First find some rubbing alcohol or better yet electrical cleaner.
Next find a credit card or something of similar thickness. Wrap one
end of the card in a paper coffee filter (notebook paper in a pinch).
Saturate the paper in cleaner and insert this card/filter tool into
the card slot repeatedly.
This tool is very similar to the official NES cleaning kit made 20yrs
ago. Repeat the process several time, you may notice black residue on
the filter. Change filter out as needed while cleaning.
Let me know if this does not solve your issue.
Cheers,
-Wes
This is great! Thanks for posting.
ReplyDeleteI'm super frustrated after doing this. A) It had no effect and B) You can see and access these pins after step 1, can you not? Why continue taking the entire flippin' thing apart??!?!??!
ReplyDeleteYou can try that if you prefer. Might work for those with small hands. Though I would suggest following the guide and removing the last few screws. Leaving the 72pin attached to the NES will not ease with pin adjustments. Especially if you are already having difficulties.
DeleteI have tried bending pins as suggested above, as well as boiling (twice) as suggested in your linked article, but still get the red blinking light. ARGHHH! Any other suggestions?
ReplyDeleteI still get blinking light as well. This did not work :/
ReplyDelete